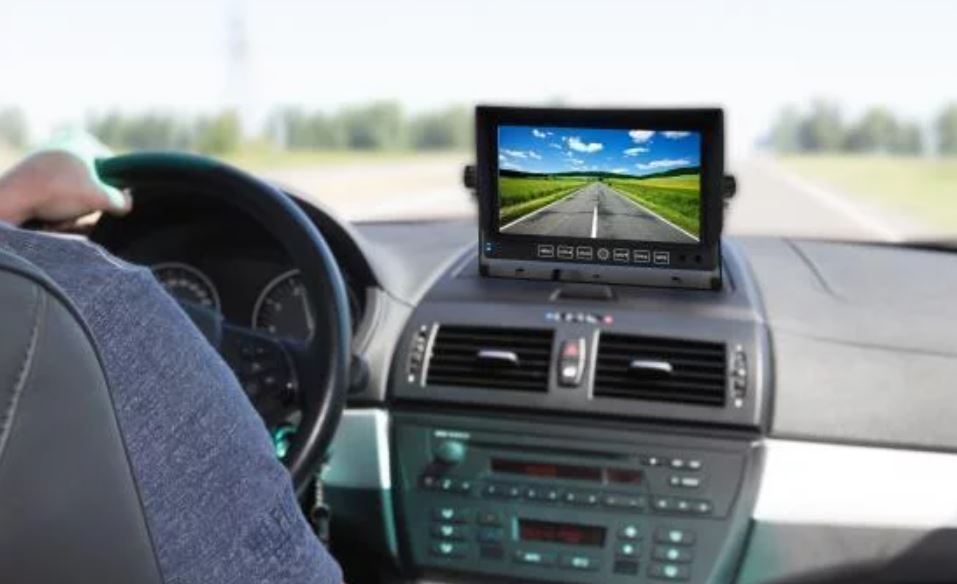
Pyle PLCMTRDVR41 Dash Cam Recorder DVR for Trucks
About Pyle
Pyle is a well-known consumer electronics company specializing in manufacturing a wide range of audio equipment and accessories. The company was founded in 1960 and is based in Brooklyn, New York. Pyle Audio has built a reputation for producing affordable and quality audio products, catering to various consumer needs.
Product Function and Application
- 7’’ Digital LCD panel,16:9 display
- Resolution:800*R.G.B*480
- Panel key: touch button
- Remote control
- System language: English, Simplify Chinese, Traditional Chinese
- System resource ways real-time record
- Video standard: PAL & NTSC
- Image compression: MOTION JPEG
- Video compression: AD PCM
- AV format: AV records the real-time
- video record: Automatic
- Searching by: file name .time
- 4 channel with 4 pin connector or RCA connector (optional)
- Audio input 1 channel with 4 pin connector or RCA connector
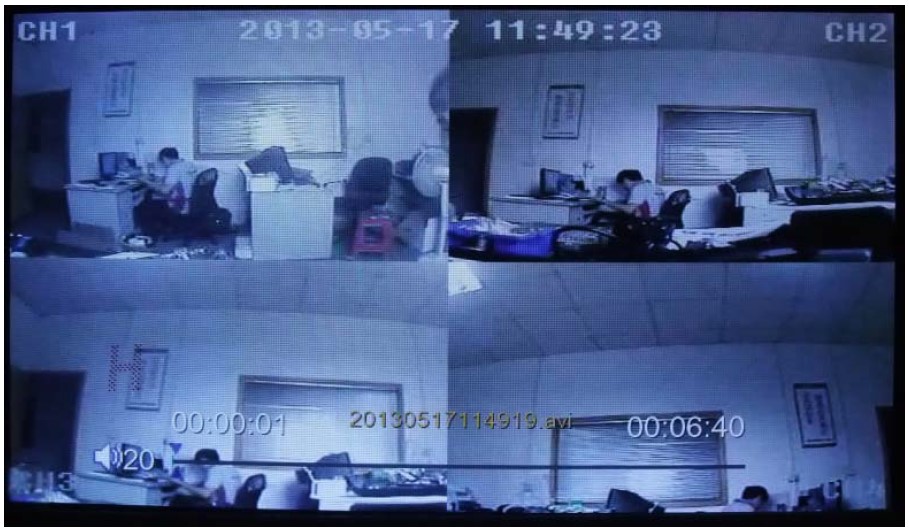
- Display Single. Quad picture
- DVR image: 640*480
- recording Speed: 30 FPS
- Video Save: SD card support 32G
- Local playback: support
- Trigger input:4 triggers
- one battery built-in PCB board
- Power supply: DC-12V -24V
- Working temperate:0℃~60℃
- Bracket: Shape iron bracket or stand bracket
- sunshade
- Storage temperate: -10℃~70℃
- 180mm*121mm*24mm Dimension: 180mm*121mm*24mm
- weight:0.63KGS
Product Application
This product adopts a digital TFT panel display real-time monitoring of high definition, the SD card storage medium. The monitor has a built-in DVR single image recording or quad image recording function. Support one audio recording, with a speaker and remote control. easy to install in different kinds of vehicles. With on radiation, low consumption, beautiful and vivid image, nice panel, adjustable pole distance, etc features.
Product Description
panel operational specification
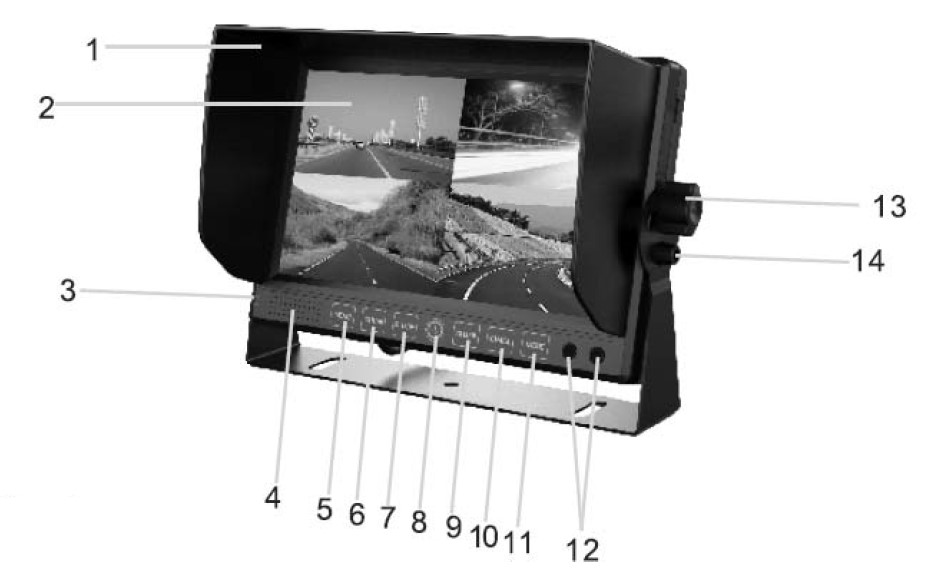
- Sunshade
- 7-inch LCD screen
- DVR indicator light: Blue is power on, flash red is recording
- Loudspeaker
- Menu key:pasue recording. return to the menu and playback status
- CH1 Key: Enter CH-1, select left in the menu, and select the last song in playback
- CH2: Enter CH-2, and select right in the menu. Select the next song in the playback
- POWER: when power is on, recording /stop recording switch. Long pressing the power key to three seconds can turn off the monitor. A short press power key can turn on the monitor. To choose to play/pause in menu status. Long press the power key to ten seconds can reset the system
- CH3: Enter CH3, Select the down direction in the menu status. It’s volume decrease in playback status
- CH4: Enter CH4, select up direction in menu status. It’s Volume increase in playback status
- Mode: quad images button To choose the volume decrease/ play /pause in playback status
- Remote window
- Plastic screw
- screw
- screw
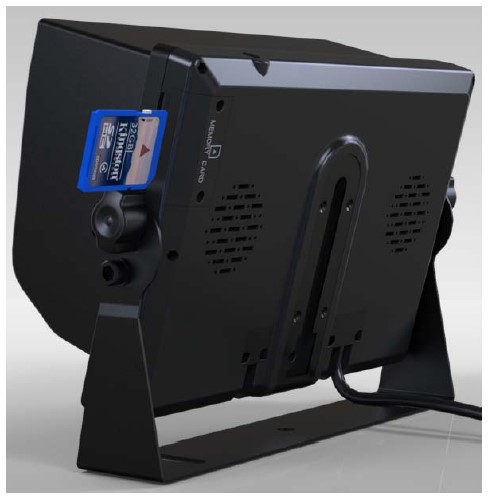
Connection

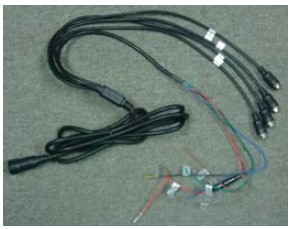
Red: DC 12V /24V power supply
Black wire: ground
- Brown wire: CH1 trigger
- Green wire: CH2 trigger
- Blue wire: CH3 trigger
- Grey wire: CH4 trigger
- CH1 : V1 signal input
- CH2: V2 signal input
- CH3: V3 signal input
- CH4: V4 signal input
Remote control function

- Turn on/off power
- Switch at CH1/CH2/CH3/CH4
- Sounds off
- Enter: when DVR operating, switch at record & playback
- UP: When DVR operating, select up
- When DVR operating, can select the menu set. To exit in menu status. Return video file list in playback.
- Left direction key: select the left Last song in the playback status
- OK key: recording/stop recording switch in recording status. Confirm in menu status。 Play/pause in playback status
- Right key: Select right in menu status. The next song in the playback status
- 16:9 / 4:3 key, Switch aspect ratio
- Down direction key: Select down direction
- MODE Key: Switch image effect mode
- VOL – Key: decrease the sound, decrease analogy quantity
- MENU key: To enter the menu
- VOL+ key: Increase the sound, increase analogy quantity
- CH1 key: Enter CH1
- CH2 key: Enter CH2
- CH3 key: Enter CH3
- CH4 key: Enter CH4

Operating instructions
Main interface instructions

- CH1/CH2/CH3/CH4:CH1/CH2/CH3/CH4 channel display
- Real data and time display
- REC instruction: recording when “REC” is in red word. Recording stopped when “REC” in white word
- A single video amplification

Menu operation
- Press the “ ”key on the remote control to set the “ Contrast ” “Brightness” and “Saturation” menus, then press“ ” and “ ” to set the parameter
- Press the“ “ ” key on the remote control to set the volume. Press the “ ” key on the remote control to set mute
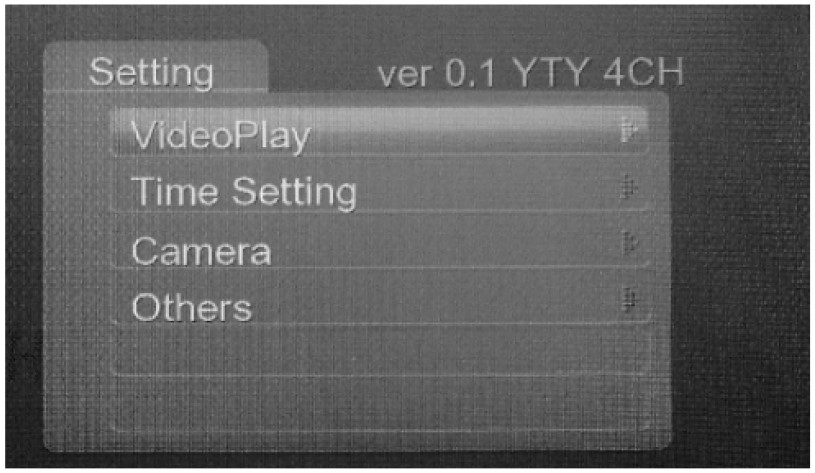
- Setting: Press the“ ”key on the remote control to enter the main menu, Before entering the main menu will have a waiting process,

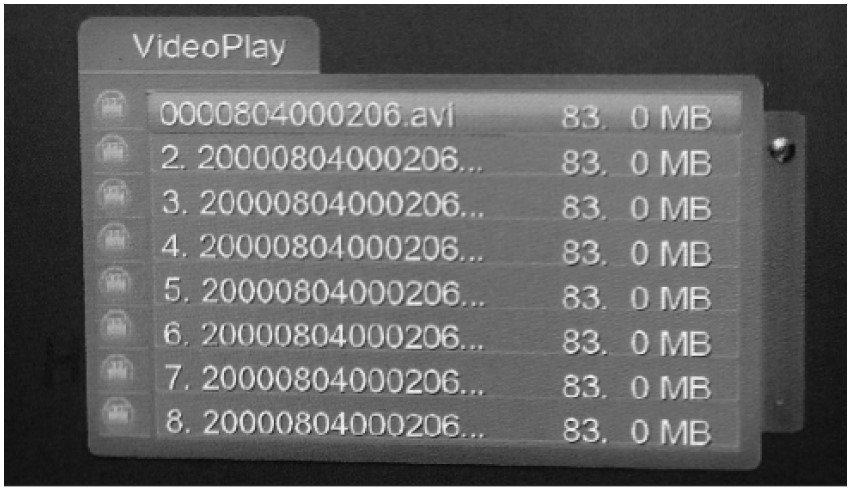
- Video play: Enter the video play menu( see the figure as follows), select the video and play video by the remote controller to playback
- Time Setting: Enter the menu of Time setting (see figure as follows).user can set the date and time then save the setting.
- Camera: Enter the menu of the camera set (see figure as follows), to select the target channel (current view or all channels). (Notice: changing the set of the recording channel will occupy a memory space; the system will be reset after exiting the camera set. Recording Time min(s): Enter the menu of REC Time min(s); select the recording time from 3 minutes to 10 minutes to set for every recording video.

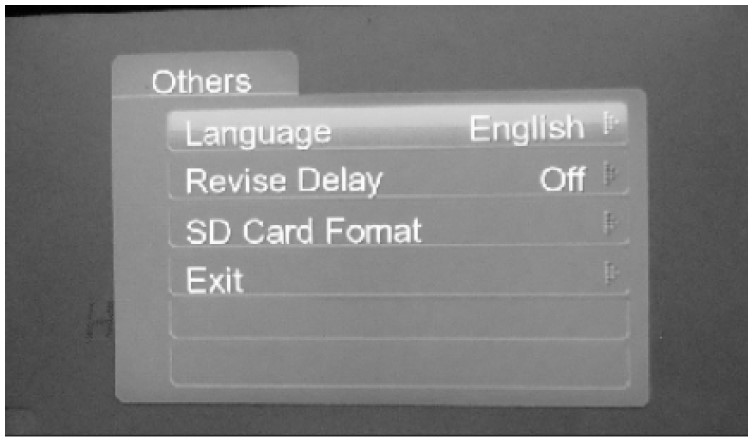
- Others: Enter the menu of the others (see the figure as follows), and select the language “English” “Simplify Chinese” or “Traditional Chinese” to set your desire
Revise delay: Enter the menu of the revise delay, select the revise delay “off” “2 Second” “3 Second” to set your desire

Play Back
Enter the main menu, to select your desired video to play in a video playlist
- CH1/CH2/CH3/CH4 channel
- REC real-time and date
- The current video file playback time display
- Playback file name
- The total time of current playback of video files
- System volume display
The user can do some settings such as play/pause, last song, the next song, and return etc operation on panel keys or remote controller. For operation details please above Product Description
Accessories
- Cable
- Remote controller

- Manual

- Extension cable 1 pcs 15-meter cable

FAQS About Pyle PLCMTRDVR41 Dash Cam Recorder DVR for Trucks
How long can a dash cam record for?
You can watch for up to four hours in 1080p HD.
How long do dashcams record for?
A 16GB Micro SD card can record for up to two hours.
Do truck cameras constantly record?
Yes, truck dash cameras frequently record nonstop.
Do truck dash cameras continuously record?
Yes, dash cams from manufacturers like Momento do capture activities around your car even while the engine is off.
How much space is required by a dash cam?
A 64GB card or around 60GB of storage would be required for two hours of driving per day, five days per week.
How long does the battery on a dash camera last?
five to fifteen minutes
Do dashcams drain batteries quickly?
No, it’s quite improbable.
When a truck is not in use, do the cameras record?
When the engine is turned off in the car, the dashcams can still record video thanks to engine-off recording.
Do truck cams capture sound?
The dash cameras are equipped with an audio recording feature.
The way a truck camera operates.
Dash cams typically activate and deactivate in reaction to the behavior of the engine.
For more manuals by Pyle, Visit Manualsdock

