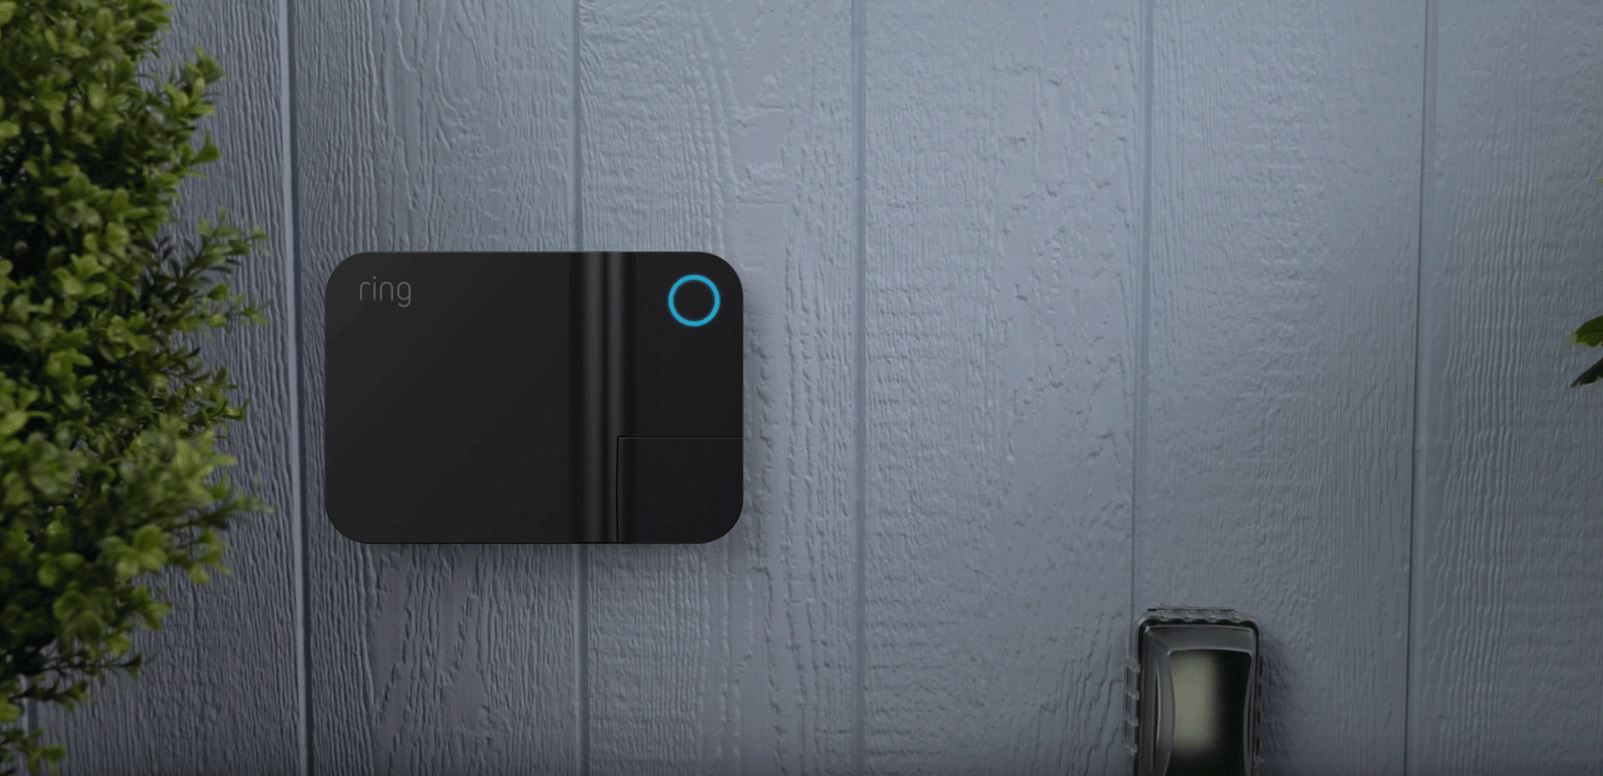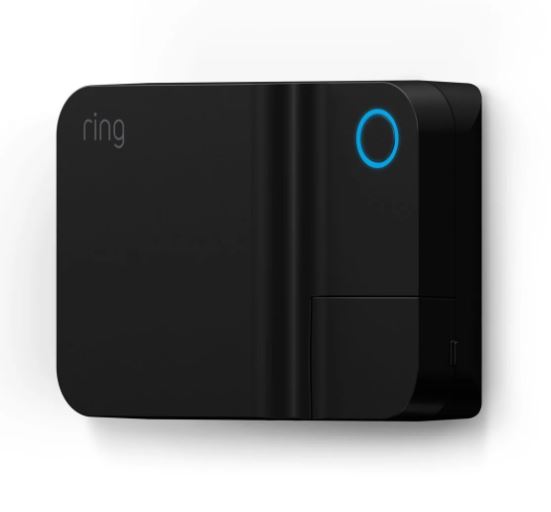
Ring Smart Lighting Transformer
About Ring
Ring LLC is a manufacturer of home security and smart home devices owned by Amazon. It manufactures a titular line of smart doorbells, home security cameras, and alarm systems.
For your safety…
WARNING: Risk of electric shock. Do not mount a power supply or luminaires within 10 feet (3.0 meters) of a pool, spa, or fountain.
CAUTION: For use only on a branch circuit protected by a Class A type Ground Fault Circuit Interrupter (GFCI).
When used outdoors, install only a covered Class A GFCI-protected receptacle that is weatherproof with the power unit connected to the receptacle. If one is not provided, contact a qualified electrician for proper installation. Ensure that the power unit and cord do not interfere with completely closing the receptacle cover.
The transformer must be installed greater than 1 foot above ground level. The maximum wattage load is 200 watts. Verify that the combined total wattage of all fixtures is below 200W.
- For use with landscape lighting systems only.
- Use with 12V or 15V landscape lights, including LED and halogen lights.
- Use ONLY with common gauge sizes of CSA or UL-approved low voltage cable (12-16 AWG).
-
DO NOT connect two or more power supplies in parallel.
This manual is for informational purposes only. Working with electricity can be dangerous unless proper safety precautions are taken. If you are not comfortable or inexperienced with the processes and tools described in this manual, we recommend that you hire a licensed electrician.
Set up your Transformer
Download the Ring app.
The app walks you through setting up and managing your Ring Transformer. Download it on your iOS or Android device
Set up your Ring Bridge.
The Bridge connects your Ring Smart Lights to the Ring app and the rest of your Ring devices. To set up your Bridge, follow the instructions in the Ring app or the Bridge user manual.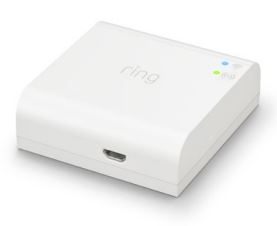
- Choose a location.
You’ll have to plug in your Transformer, so Drive the top screws first, leaving 1/8” of space best place for it is near an outlet (make sure it’s between the mounting surface and screw heads. a covered, weatherproof Class A GFCI protected outlet). Once you’ve decided on a spot, use the included mounting template to mark the screw holes. To avoid damage to your Transformer, make sure the top screws are at least 18” above the ground.
Insert the top screws.
Drive the top screws first, leaving 1/8” of space between the mounting surface and screw heads. If mounting on a masonry surface or drywall, use a 1/4” drill bit to drill pilot holes at each mark and insert the anchors.
- Mount your Transformer.
Align the Transformer with the top screws. Slide it down over the screws to lock it into place. Then drive the bottom screw to secure your Transformer to the mounting surface.
Install lights and wiring
- Choose a cable.
If you already have low-voltage lighting installed, skip ahead to page 12. The Transformer doesn’t come with low-voltage
cable, so you’ll have to buy some online or at a home improvement store. The chart on the next page might help…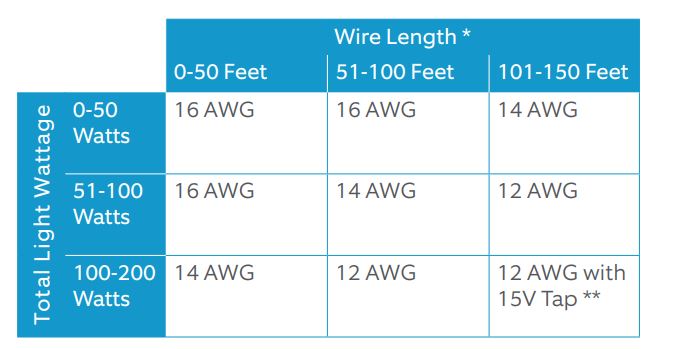
- Make sure your cable is long enough to reach all light fixtures. Consult the cable manufacturer if additional wire lengths or connectors are needed.
- Only use 15V Tap when the wire length is over 100 feet and the total wattage is over 100 Watts. 12V Tap is recommended for all other cases.
- Use ONLY with common gauge sizes of CSA or UL-approved low voltage cable (12-16 AWG).
- Calculate the total fixture wattage
Ensure the total fixture wattage does not exceed the maximum wattage load of the Transformer. To get the total wattage, add up the wattage of each fixture (for example 10 fixtures at 5W each is 50W total wattage). - Place light fixtures.
Decide where you would like to place your lights (not included) and arrange them in the desired locations. - Open the Transformer door.
Lift and hold the door open to access the terminals. The rubber grommet underneath the door can be removed to identify the terminals. Don’t lose it! Be sure to put it back before the next step… - Connect the cable to Transformer.
Split and strip the cable. Flip open the terminals, and feed one of the wires through the rubber grommet into the Common terminal (left), and the other into either the 12V (center) or 15V terminal (right) based on the total wattage of your system. Then close the terminals and the access door.
- Run the cable to fixtures.
Starting at the Transformer, run the cable to each light fixture, leaving about 12” of cable after the last fixture. - Connect the light fixtures to the cable.
Secure the light fixtures to the cable according to the fixture manufacturer’s instructions.
Complete installation
- Plug in your Transformer.
Your Transformer must be connected to a covered, weatherproof GFCI-protected receptacle. If you don’t have a covered,
weatherproof GFCI-protected receptacle, you’ll need to hire a licensed electrician to install one.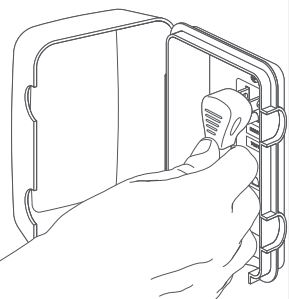
- Connect your lighting to Ring.
Once plugged in, the light around the button on the front of your Transformer will flash blue. That means it’s ready to pair with the Ring app! If the light around the button is white after you plug it in, press and release it. The light will then flash blue.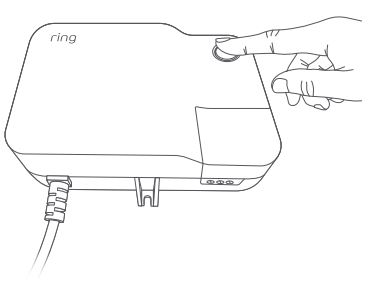
- Complete Setup in the Ring app.
In the app, tap Set Up a Device. When prompted, select Smart Lighting and follow the in-app instructions. When the light on your Transformer turns solid blue, the setup is complete.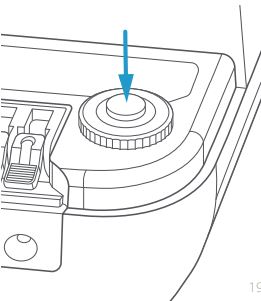
For additional help,
visit: ring.com/help
Or give us a call…
- US 1 800 656 1918
- Canada 1 855 300 7289
- Worldwide +1 310 929 7085
For a list of all our customer support numbers
visit: ring.com/callus
warranty
To review your warranty coverage, please visit www.ring.com/warranty.
Patents: www.ring.com/patents
FAQs About Ring Smart Lighting Transformer
Is it possible to utilize Ring Transformer without a bridge?
Ring Smart Lights can only be used as regular motion-detecting lights without Ring Bridge.
What function does the Ring transformer serve?
A clever power source for low-voltage wired landscape lighting is the Ring Transformer.
What is the Ring transformer’s wattage?
200 watts
What type of transformer is a Ring?
Only an AC transformer can be used to power the Ring Video Doorbell.
What size transformer is required for a Ring?
A suitable replacement transformer should be present: We advise using a transformer with at least 16 AC volts and 30 volt-amps.
What makes a transformer operate and why?
To avoid wasting energy, the transformer core directs the magnetic field’s course between the primary and secondary coils.
What function does a transformer’s static end ring serve?
At both ends of the winding, shield rings—also known as static rings or metalized screen rings—are positioned. Instead of leaving the conductor’s sharp edge, they are typically utilized to shape the electrical field with an acceptable radius.
Which transformer works with ring?
Ring Doorbell Compatible Cenipar Doorbell Transformer 24V 40VA.
Can I connect Ring straight to the transformer?
Direct connection of a Ring Doorbell 2 to a low voltage 8-24V AC transformer operating at 50/60Hz is possible (40V maximum).
For more manuals by Ring, Visit Manualsdock
[embeddoc url=”https://manualsdock.com/wp-content/uploads/2023/08/Ring-Smart-Lighting-Transformer-Manual.pdf” download=”all”]

