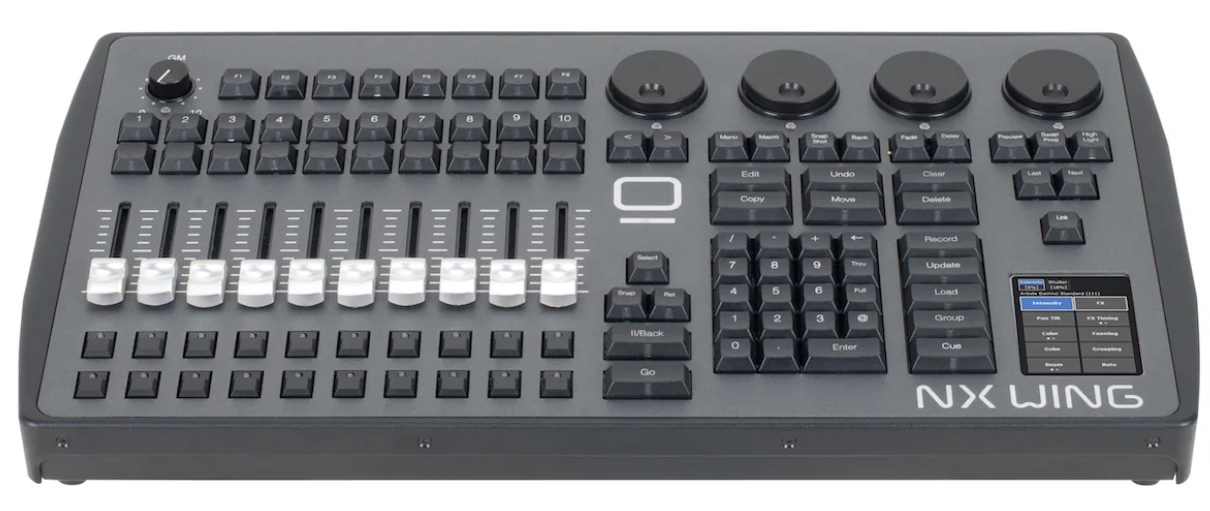
OBSIDIAN NX-Wing SMPTE / MIDI Kit
Introduction
Due to the shortage of components some NX2, NX4, and NX-Wing controllers shipped without the SMPTE and MIDI interfaces. This guide describes in detail how these interfaces are installed in these 3 controllers. To register your device and receive the SMPTE/MIDI Kit free of charge please visit: support.obsidiancontrol.com/timecodeparts
WARNING: ANTI-STATIC PRECAUTIONS
ESD or Electrostatic Discharge is one of the main causes of electronic defects, such that the defect may not be immediately noticeable, but can pop up later, even months afterward. ESD can ruin electronic components and can cause significant additional costs. Therefore it is very important to follow the instructions below. Be sure to be properly grounded before opening the controller:
- If possible: Carry out the service at an anti-static workstation.
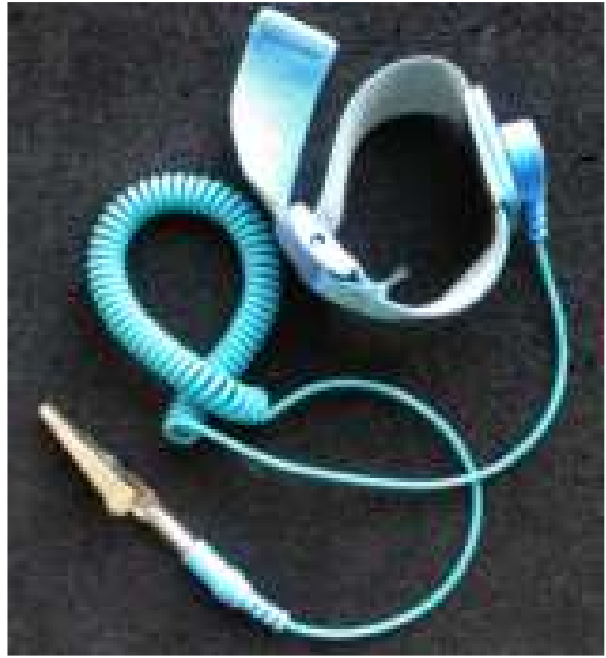
- Wear a grounded anti-static wristband.
- Touch a grounded conductor every few minutes to discharge any static buildup.
- Hold components by their edges only. Do never touch the surfaces or any of the contacts of the PCBs.
Kit Contents
The SMPTE/MIDI Kit contains the following items:
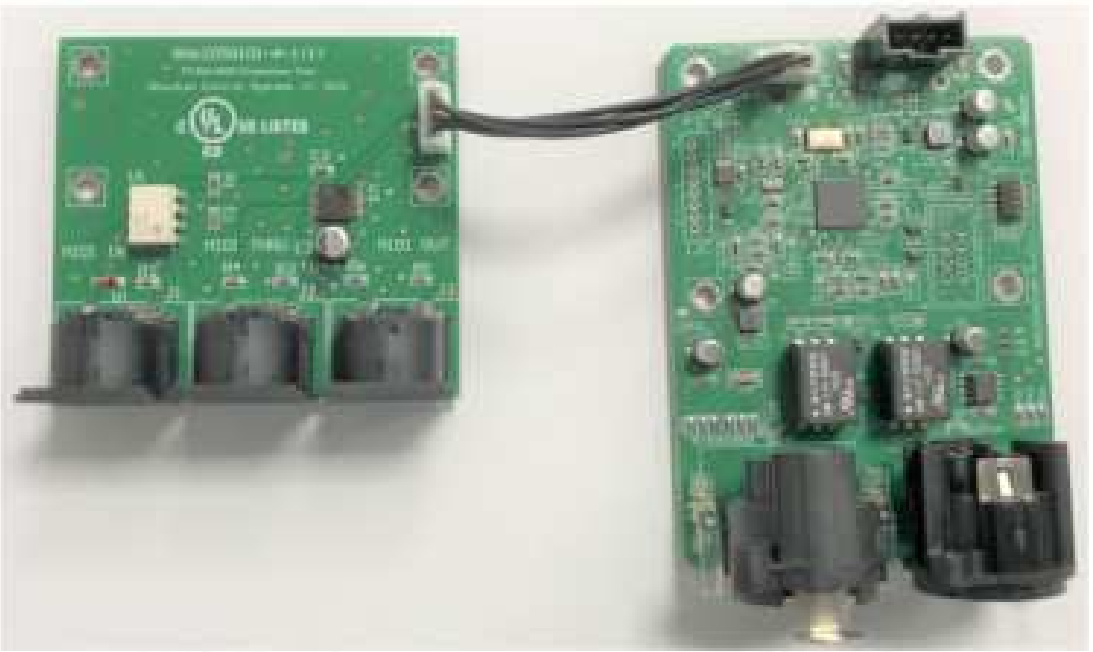
- SMPTE interface
- MIDI interface
- Interconnect cable
- 1 set of reserve screws + wire straps
- This guide
Tools needed
The following tools are needed:
- Torx T10 screwdriver
- Torx T20 screwdriver (only NX2, NX4)
- XLR 3-pin male to 3-pin female cable (for testing)
- MIDI cable (for testing)
Installation
NX-Wing
- Remove screws:
- Remove 4 screws on the front (Torx T10)
- Remove 4 screws on the back (Torx T10)
- Slightly loosen 2 screws on the back (Torx T10)
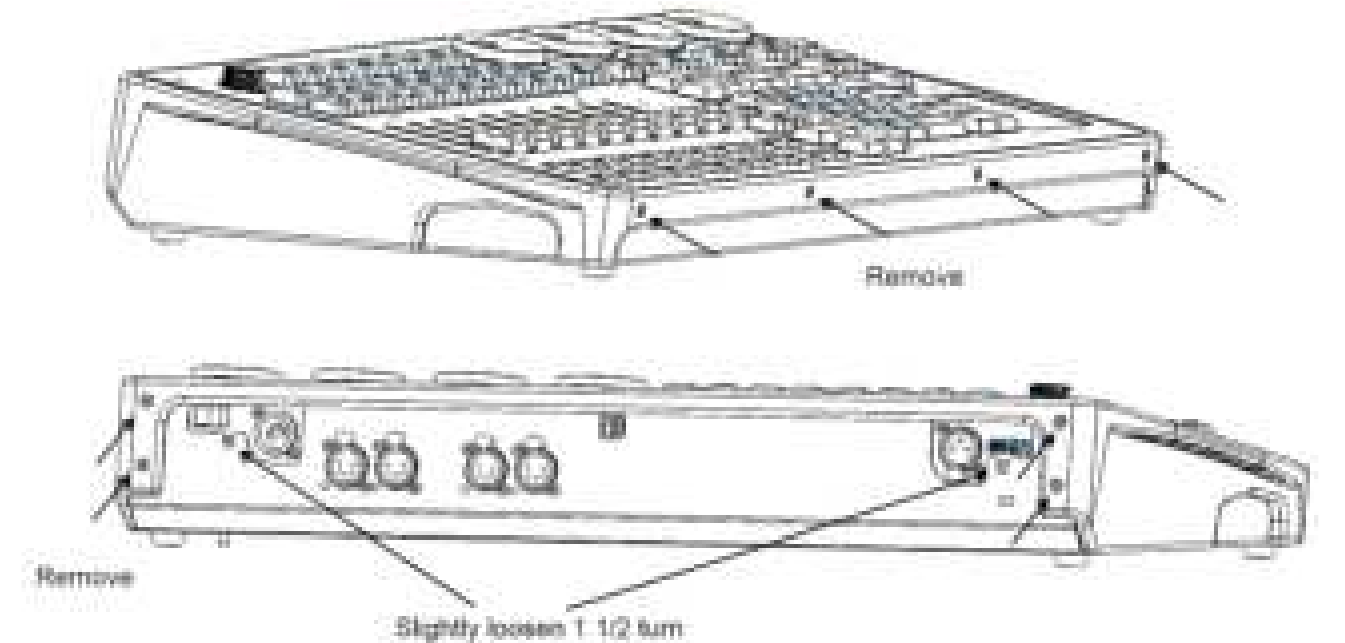
- Lift the front panel of the base. Push the top corner of the lamp dimmer plate in slightly, while lifting the front panel off the base.

- Put the front panel behind the base. Make sure that the cabling is not damaged.
- Remove the blind plate:
- Remove 6 screws + washers from the base (Torx T10)
- Remove 4 screws from the side (Torx T10)
- Remove the blind plate

- Install the SMPTE and MIDI interfaces
- Install the 2 interfaces with the screws and washers that were removed in the previous step
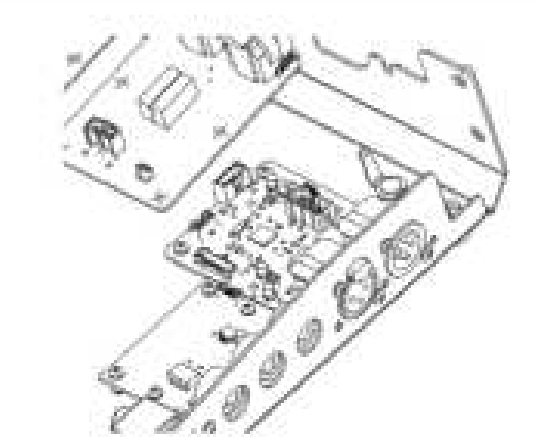
- Connect cabling:
- Connect the USB cable coming from the front panel
- Connect the interface interconnect cable
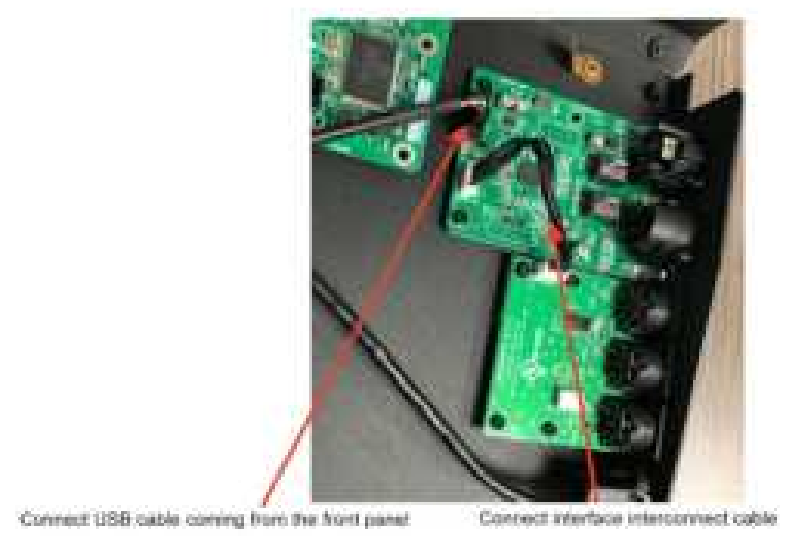
- Test the interface.
- Before closing the controller, test the interfaces (see Chapter 5)
- Close the controller when the test is successful.
- Close the controller in reverse order of opening
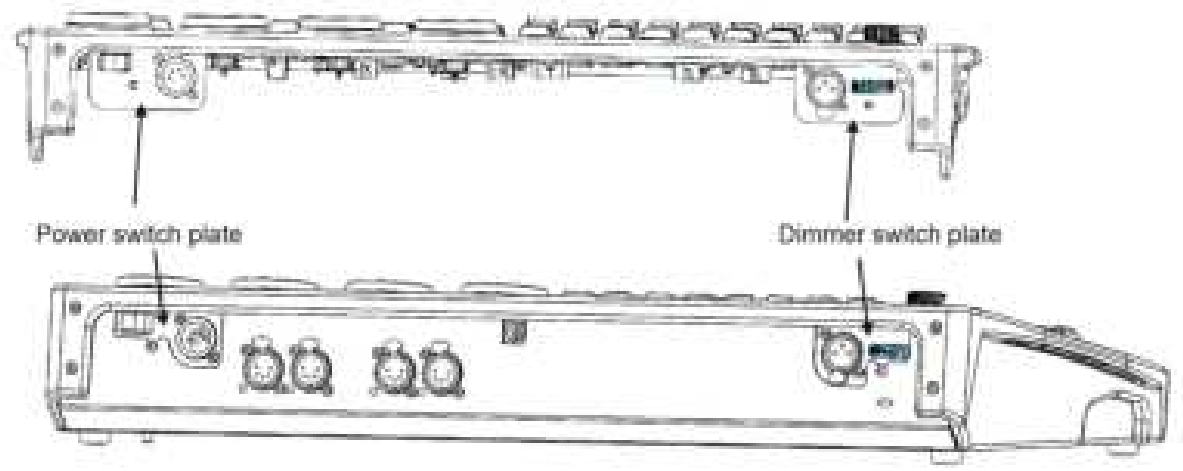
NX2
- Remove screws:
- Remove 4 screws on the front (Torx T10)
- Remove 8 screws on the back hinges (Torx T10)
- Slightly loosen 2 screws on the back (Torx T10)
- Slightly loosen 2 screws on the bottom of the hinges (Torx T20)
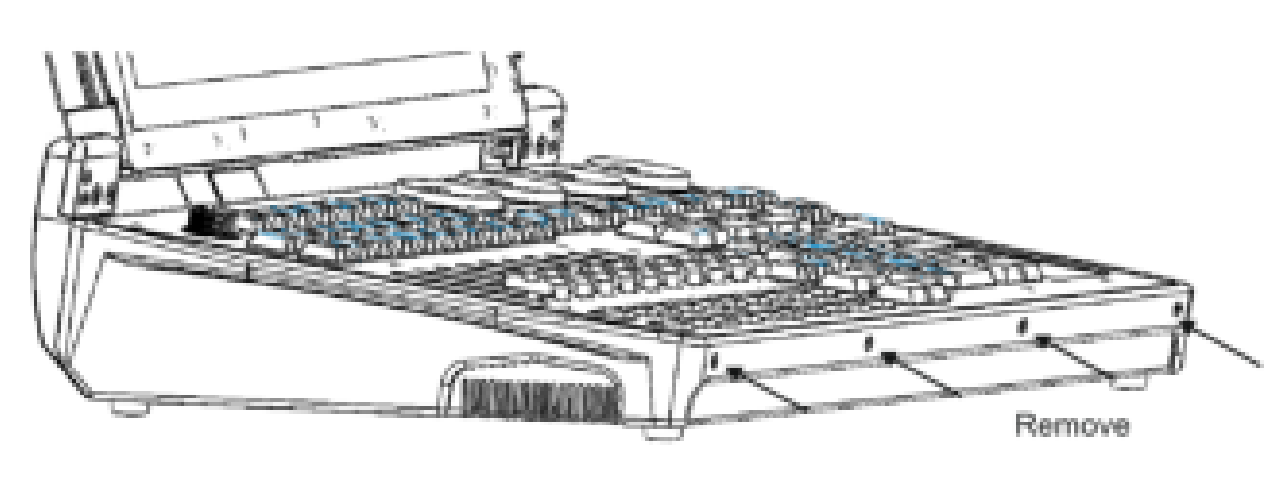

- Lift the front panel of the base. Push the top corner of the lamp dimmer plate in slightly, while lifting the front panel off the base.

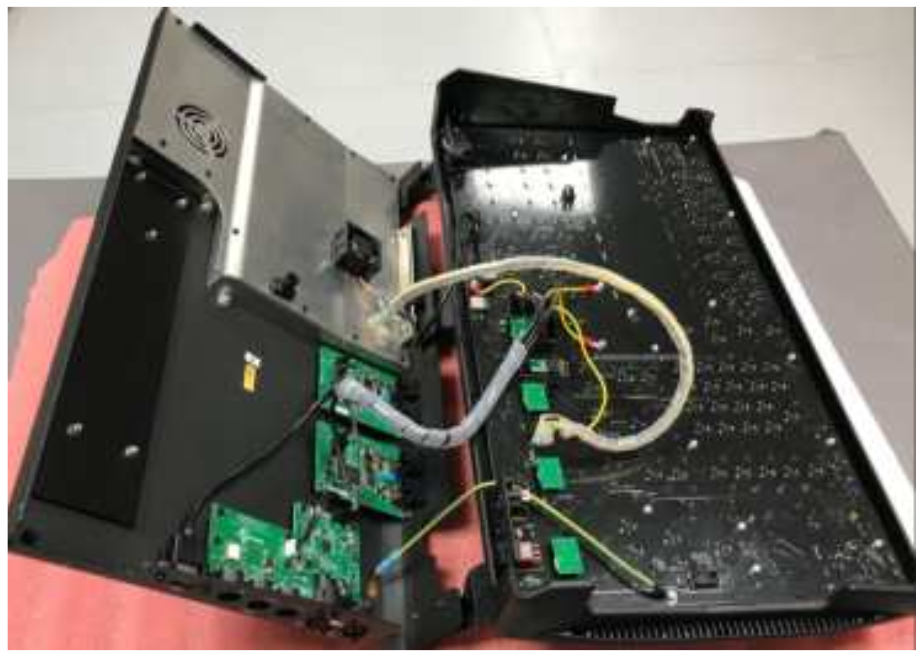
- Place the front panel on the screen (put a piece of cardboard between them to prevent damage), as shown in the photo. Make sure that the cabling is not damaged. Note: SMPTE and MIDI interfaces are already installed in the picture
- Remove the blind plate:
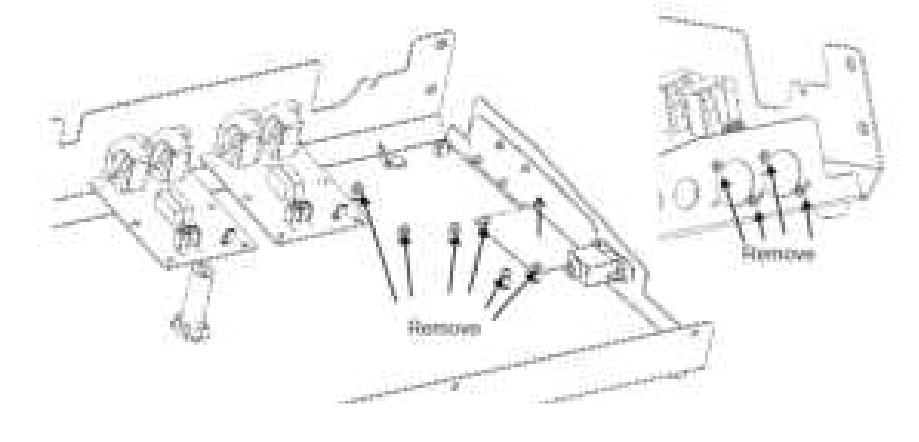
- Remove 6 screws + washers from the base (Torx T10)
- Remove 4 screws from the side (Torx T10)
- Remove the blind plate
- Install the SMPTE and MIDI interfaces
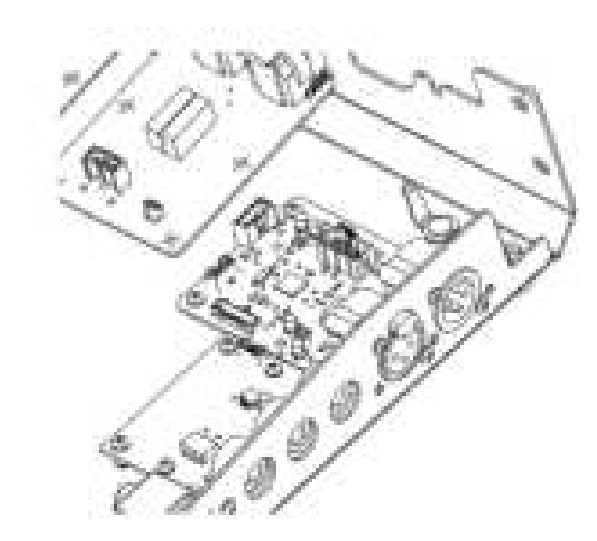
- Install the 2 interfaces with the screws and washers that were removed in the previous step.
- connect cabling:
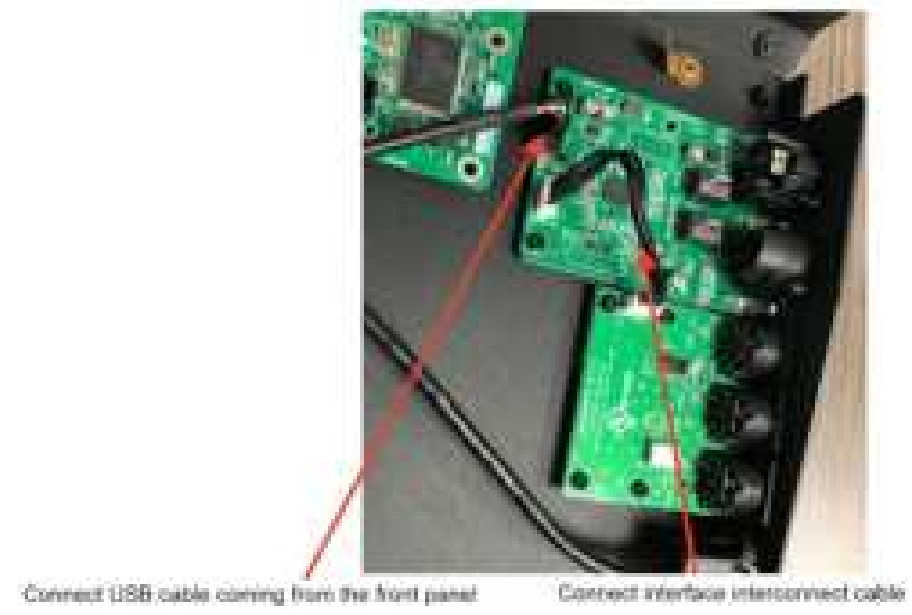
- Connect the USB cable coming from the front panel
- Connect the interface interconnect cable
- Test the interface.
- Before closing the controller, test the interfaces (see Chapter 5)
- Close the controller when the test is successful.
- Close the controller in reverse order of opening.

NX4
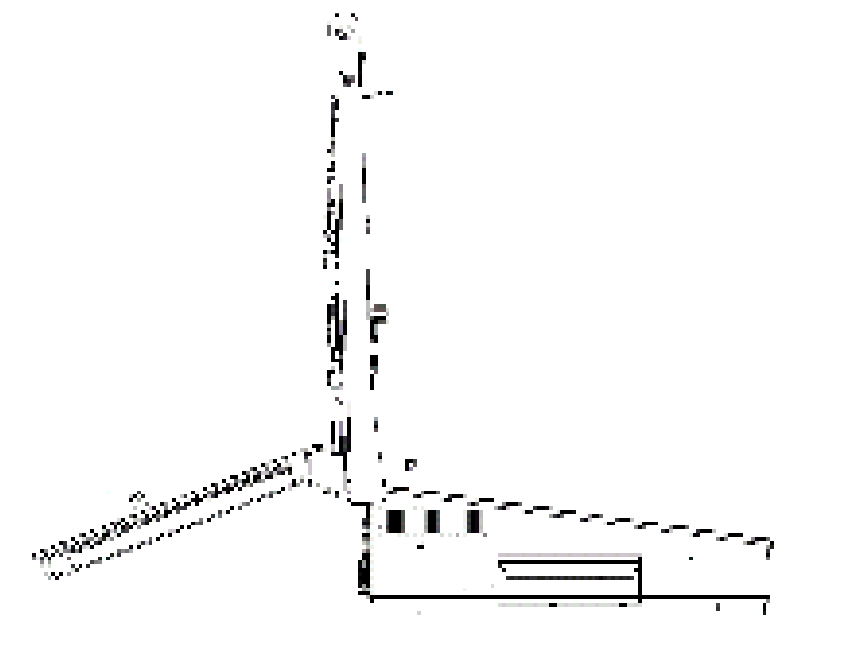
- Place the desk lights in a horizontal position behind the screen
- Place the screen in the open position

- Remove screws:
- Remove 4 screws on the front (Torx T20)
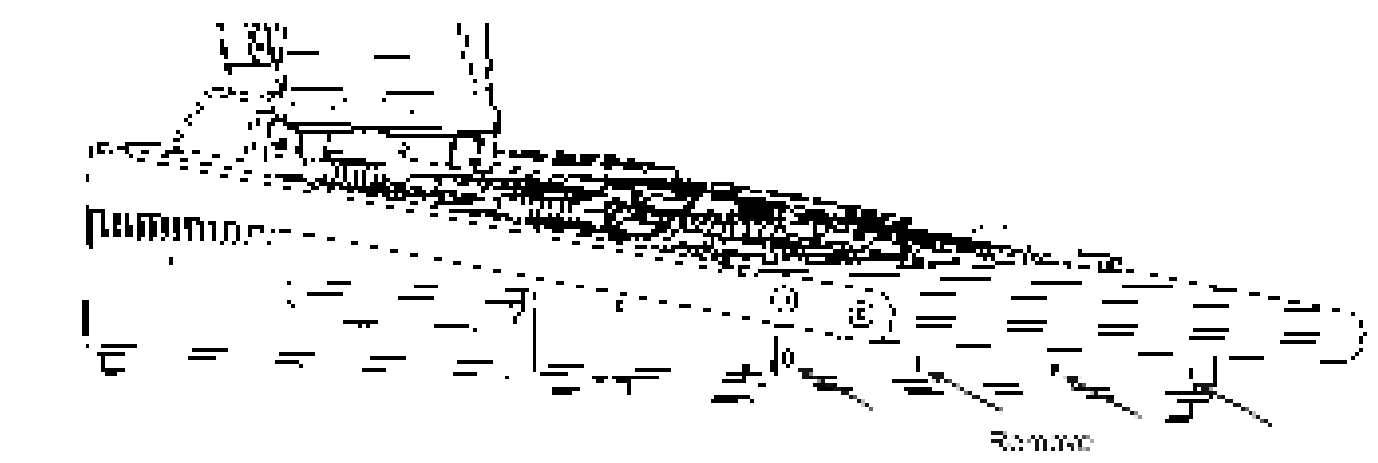
- Open the desk. Use the screen to keep it in the open position.
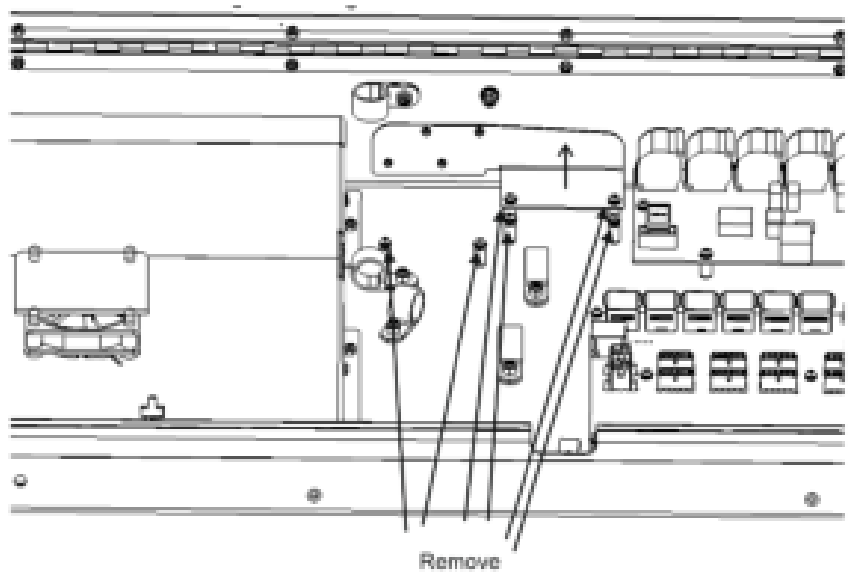
- Remove the blind plate:
- Remove 6 screws + washers from the base (Torx T10)
- Remove 4 screws from the back (Torx T10)
- Remove the blind plate

- Install the SMPTE and MIDI interfaces
- Install the 2 interfaces with the screws and washers that were removed in the previous step.

- Connect cabling:
- Connect the USB cable coming from the center HUB/Power PCB
- Connect the interface interconnect cable

- Test the interface.
- Before closing the controller, test the interfaces (see Chapter 5)
- Close the controller when the test is successful.
- Close the controller in reverse order of opening.
Test the SMPTE/MIDI interfaces
The test procedure is the same for all controllers:
- Connect SMPTE IN with SMPTE OUT using an XLR 3-pin male to 3-pin female cable
- Connect MIDI IN with MIDI OUT using a MIDI cable
- Start the controller
- Go to the “Menu” in the ONYX software: “Tools” – “Diagnostics” and open “MIDI tester”
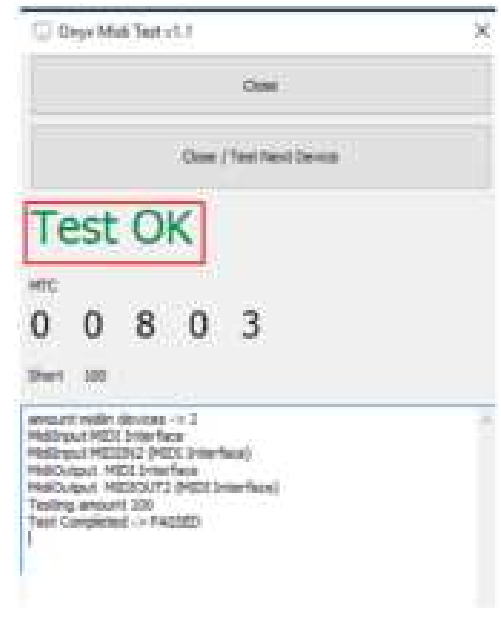
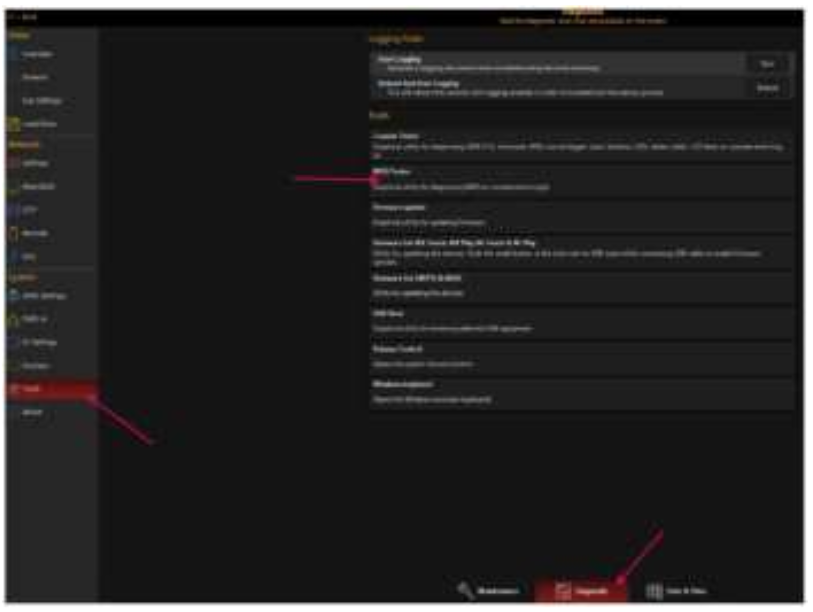 The tester will run automatically. If it doesn’t run, then hit “Close / Test Next Device”
-
- If everything is OK then it will display “TEST OK”
- If fails are detected, then check the USB cable to the SMPTE interface, the interface interconnect cable, and the XLR and MIDI cable.
For more Manuals by OBSIDIAN, visit MANUALSDOCK


