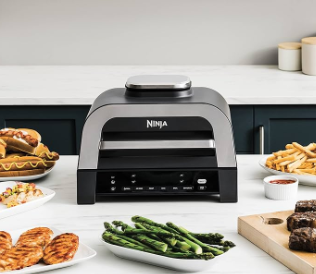
Ninja DG551 Foodi Smart Air Fry
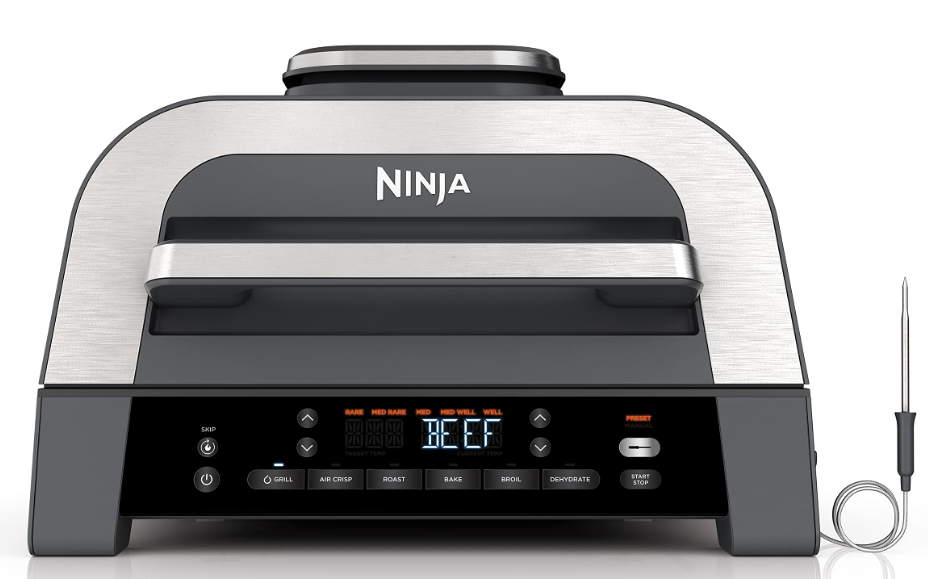
Get to know the control panel

- POWER: To turn the unit on and off, press the POWER button.
- COOKING FUNCTIONS: Air Crisp, Roast, Grill, Bake, Broil, Dehydrate.
- LEFT arrows: Use the up and down arrows to the left of the display to adjust the cook temperature or doneness when using the thermometer.
- RIGHT arrows: Use the up and down arrows to the right of the display to adjust the cooking time or food type when using the thermometer.
- START/STOP button: Press to start cooking, or press while the unit is cooking to stop the current cook function.
- Press the skip button: after pressing START/STOP to skip preheat.
- THERMOMETER: Press to activate and program the thermometer on the left side of the unit.
- MANUAL setting: Switches the display screen so you can manually set the internal doneness when using the thermometer.
- PRESET setting: When the thermometer is inserted in a protein, this allows you to use the arrows to the right of the display to select the protein type.
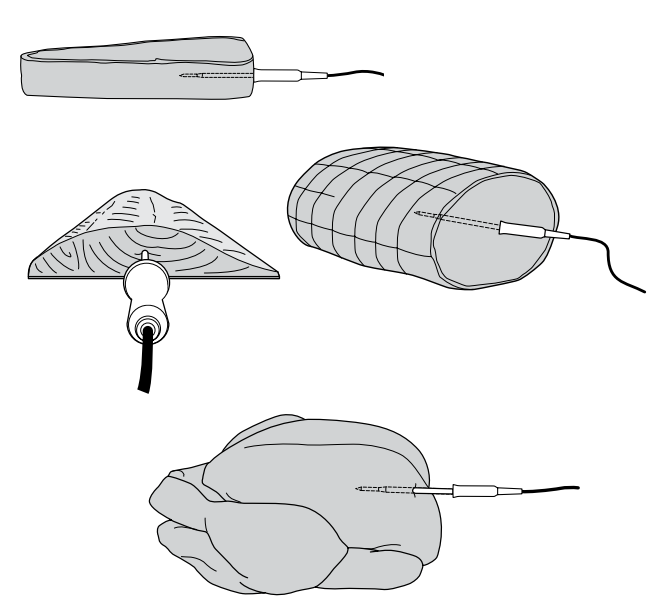
How to place the thermometer


Let’s start cooking
STEP 1 Set Up
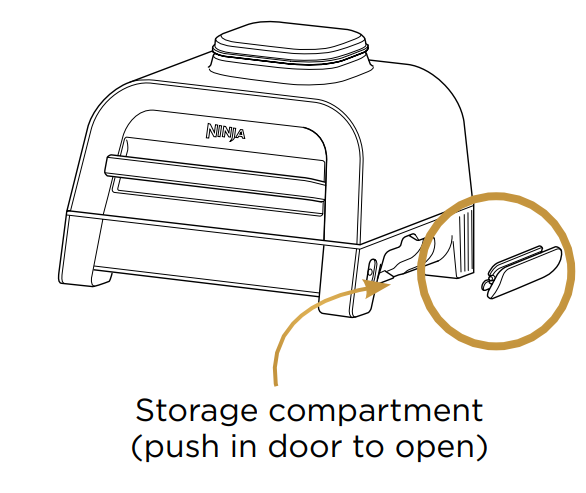
- Remove the storage compartment on the left side of the unit.
- Unwind the cord and remove the thermometer.
STEP 2 Select Cook Function
- Press the desired cooking function (e.g., Grill).
- Use the left arrows to select the desired cook temperature (setting a time is not necessary when using the thermometer).

STEP 3 Program Thermometer
- Press the THERMOMETER button.
- Use the right arrows to choose the desired protein.
- Use the left arrows to choose the desired doneness.

STEP 4 Place Thermometer
- Wait until the unit is fully preheated before adding food.
- Insert the thermometer in protein using the guide on the front page.
STEP 5 Add Food
- Once a unit has preheated, “ADD FOOD” will appear on the screen.
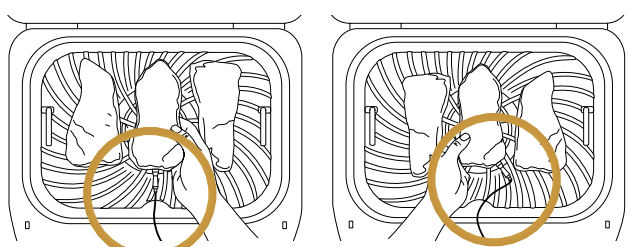
- Add food with thermometer grip(s) fully inside the unit, then close the hood over cord(s) to begin cooking (see images below).
STEP 6 Track Progress
- The progress bar at the top of the display will track doneness.
- Flashing doneness indicates progression to that doneness.

- When using Roast and Grill, the unit will beep and display FLIP. Flipping is optional, but recommended.
STEP 7 Carry-Over Cook & Rest
- The unit will beep and show “GET FOOD”, indicating it’s time to allow food to rest and carry-over cook on a plate for 3–5 minutes.
For more Manuals by NINJA, visit MANUALSDOCK

